When making caramel apples, if you want to get it right the first time around, the key is in the preparation. Caramel can be a pretty tough thing to stay on top of if you’ve got a few other things going on at the same time. When it comes to making the caramel, this has to be your sole focus. It requires concentration and close attention or you could end up with some unusable pans and some unhappy kids.
You probably want to aim to get 6 to 8 apples coated per batch unless of course, you’re catering for a bigger party, in which case good luck with the caramel! You can use condensed milk and corn syrup to combine with the brown sugar and butter, or you could even use cream if you prefer. When it comes to handling the apples, wooden chopsticks hold the weight really well. Popsicle sticks will do the trick, but only for smaller to medium-sized apples.
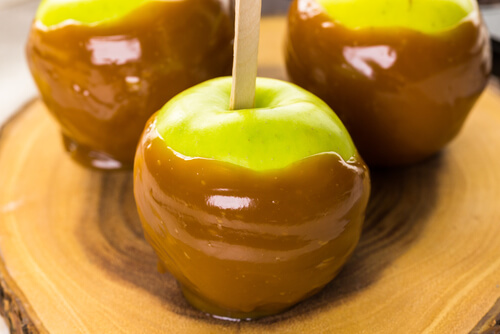
1. Traditional Caramel Apple
Whether you’re a pro at making caramel apples, or a complete newbie, it’s always a good option to start with the basics. This recipe is exactly that, basic by design. Firstly you’ll need to put 150ml of water on the boil in a medium sized pan; this is to ensure the apples can be readied before they’re covered in caramel. Set a baking tray covered in parchment paper to one side and prepare yourself to concentrate only on the caramel. In a pan on a medium to high heat, mix the butter, the corn syrup, the condensed milk, and the brown sugar, adding these to the pan all at the same time.
Stir whilst the mixture heats up and do your best to try to keep it from sticking to the sides. Remember what we said about ruining those pans! When your caramel mixture has boiled and is fully ready, return it to a low heat and breathe, you’re nearly there. Quickly but carefully, dip the apples into the boiling water to remove any wax.
Your apples should be skewered by the way, we don’t want any burnt fingers! After around 30 seconds in the water, remove the apples and allow them to cool before dipping them into the caramel mixture. The caramel will set pretty quickly and once it’s hardened, your caramel apples are good to go.