Baking bread may seem easy upon first glance, but it’s actually a very complex process that takes a lot of time to complete. Even using quick yeasted bread could take a few hours to bake, but when you get into the slow-fermented sourdough territory, you might not be able to take a bite until the second or third day of baking.
Seeing as baking is such a time-heavy activity, it’s important that you plan ahead so you actually have a schedule for your bread. The only way to make a definitive schedule is by acquainting yourself with every step of the process.
To help you with that, we’ve written an inclusive guide that covers every single step of the baking process to ensure that you can plan ahead and get the bread that you deserve. Memorizing the steps will also make things easier during the actual baking process so by reading this guide you’ll manage to kill two birds with one stone.
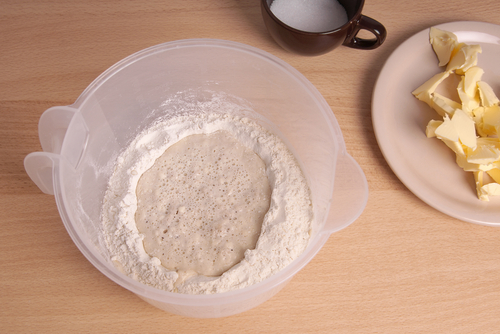
1. Refreshing the sourdough starter or creating a pre-ferment
Preferments are a mixture of dough that is mixed separately from the bread dough and left to ferment alone before mixing. Preferments might be mixed a day before to let them ferment overnight whereas some are mixed just a couple of hours before the final mixing.
If you’re making a yeasted bread, you should be fine with skipping this step, but bear in mind that the longer your bread takes to make, the more delicious it will be. Most preferments are prepared the night before the final mixing though, and you should be fine with that duration if you just want to eat some delicious bread.
That said, there are other variations that lead to longer periods of time for your doughs. The French method is by far the most famous and involves baking your bread in three separate stages. You might wanna stay away from more complex systems until you get the basics down though.